I’m gearing up for Easter with a little help from the new Crockpot ™ Express Oval Pressure Cooker.

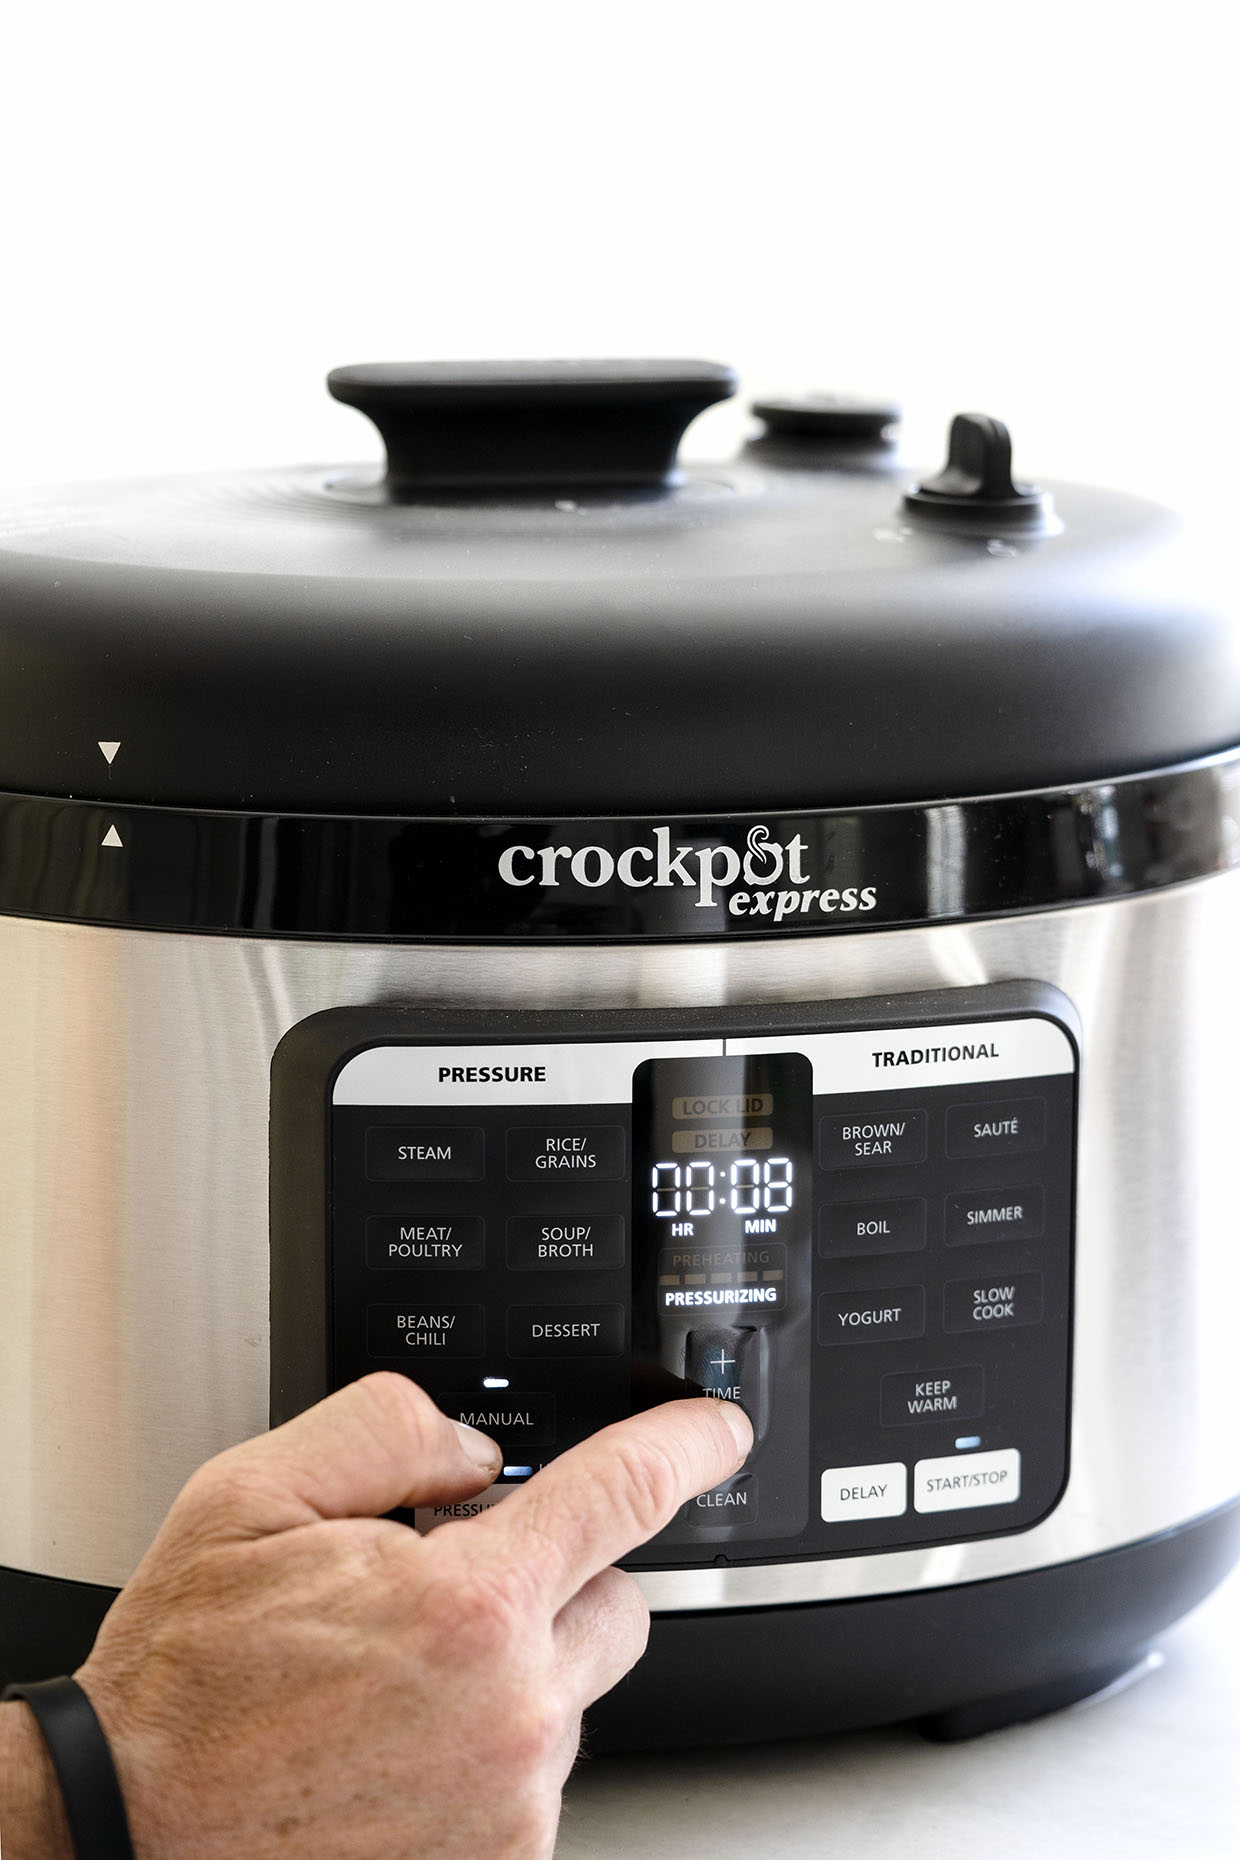
I absolutely love how it makes the perfect hard boiled egg every time. Sure you can use the traditional stovetop method, but if you are anything like me, that means you hate babysitting a pot of boiling water to find the right timing for hard boiled eggs. The Express Oval Pressure Cooker lets you set it and forget it.
In fact, that’s pretty much true of everything that is made in it. Its become my new go-to kitchen appliance. All the new features have made cooking easier. Things like the updated oval shape now makes searing and sauteeing large cuts of meat effortless. The two-hand struggle to open the lid has been replaced with a one-hand, easy-fit lid that disengages it from the rest of the unit with a simple turn and lift. The easy-release button keeps your hands away from the hot steam when releasing pressure. Best of all, the new Express Oval Pressure Cooker, replaces 9 kitchen appliances.
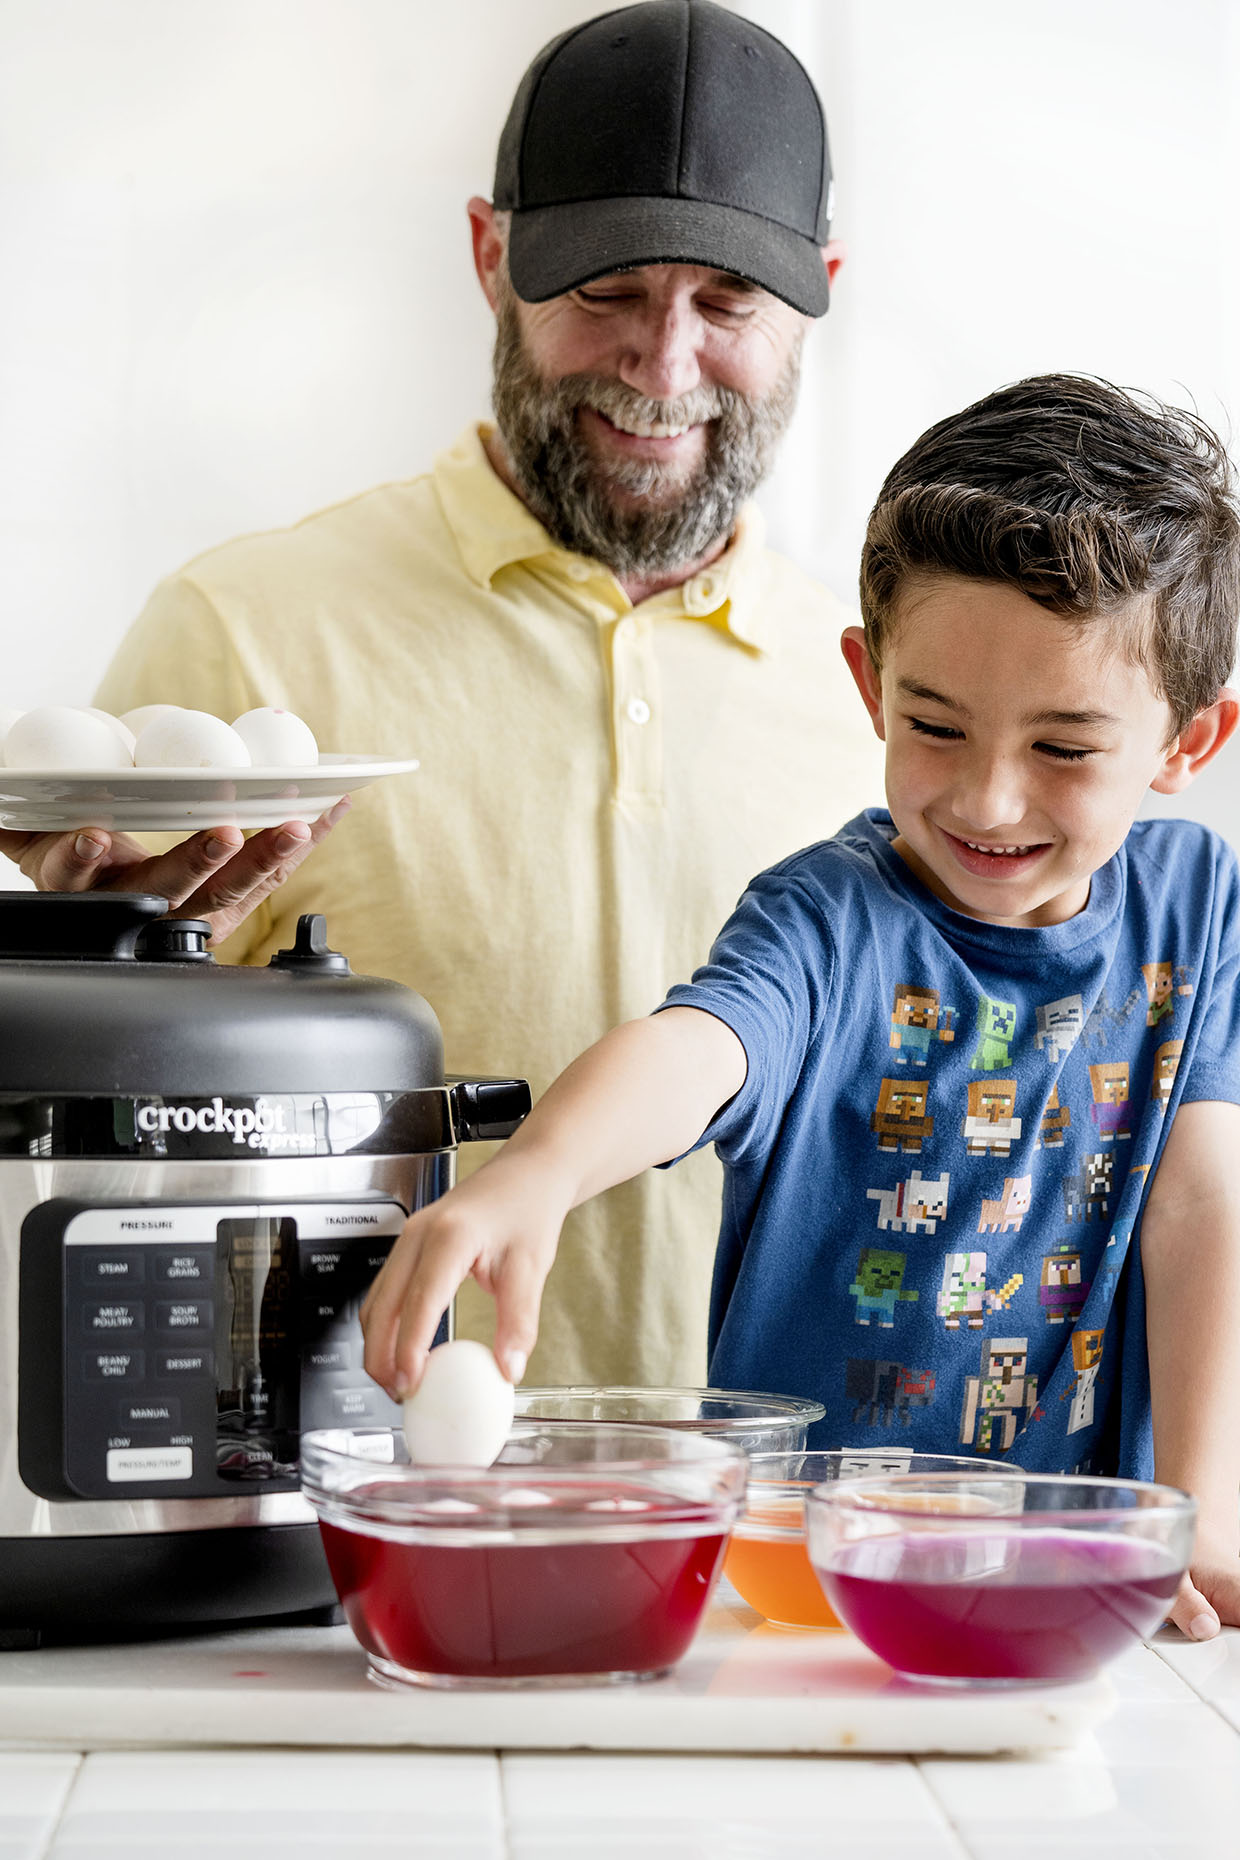
Aside from all the feature-heavy conveniences, I’m all about how fast and easy it makes my weeknight dinner routine. That means less time in the kitchen and more time with the kids and Naomi for moments like this Easter egg-dyeing tradition. A tradition that is usually headed up by my mom, but since she wasn’t home this past weekend I took charge and skipped the usual store-bought color kits for the naturally dyed egg method you see here.
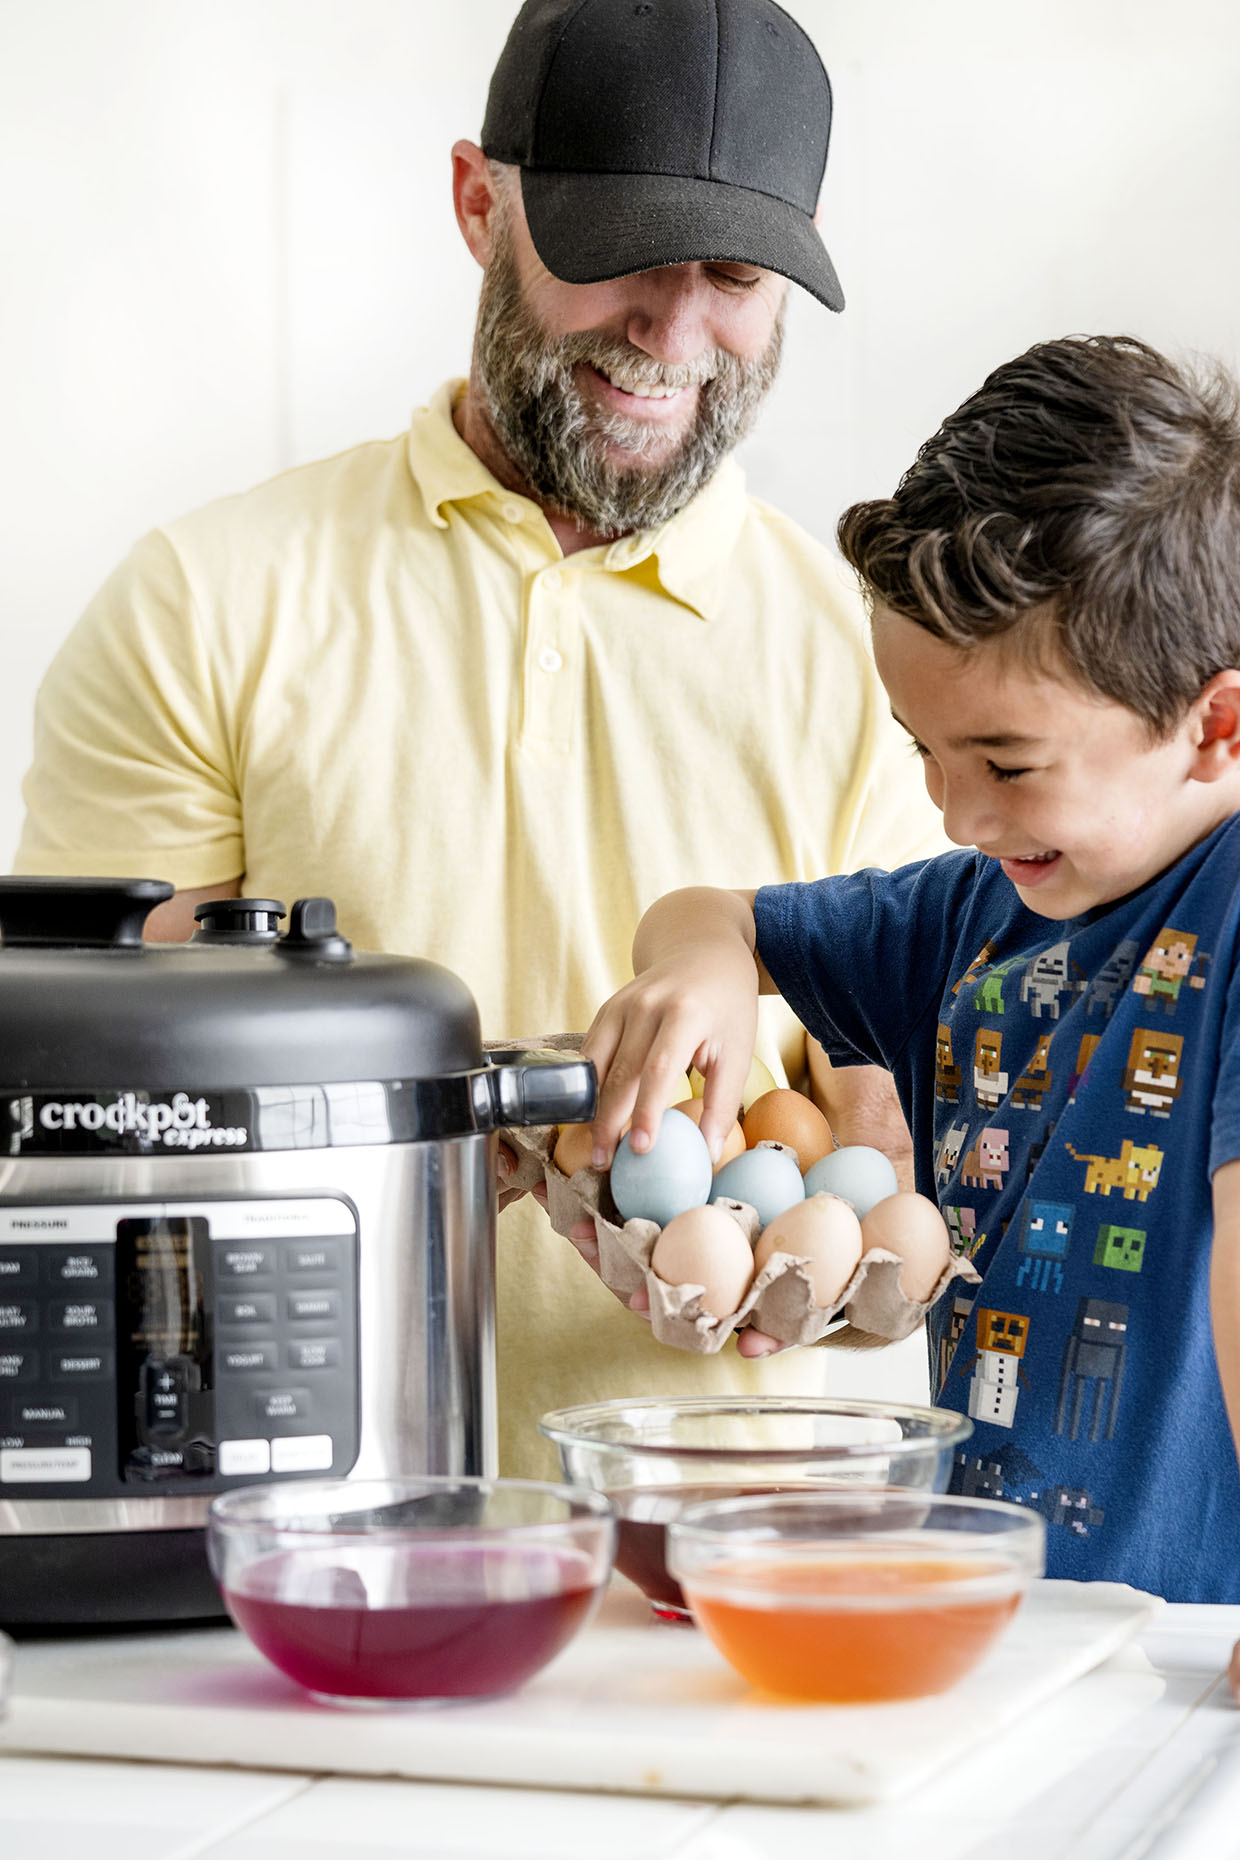
The colors may not be as vibrant, but it was so much fun to watch how a few simple vegetables and spices can so easily and quickly color eggs.
To get started dying your own Easter eggs naturally, here are a few things to keep in mind:
- Make sure to properly hard boil your eggs and let them cool completely. See adjacent recipe.
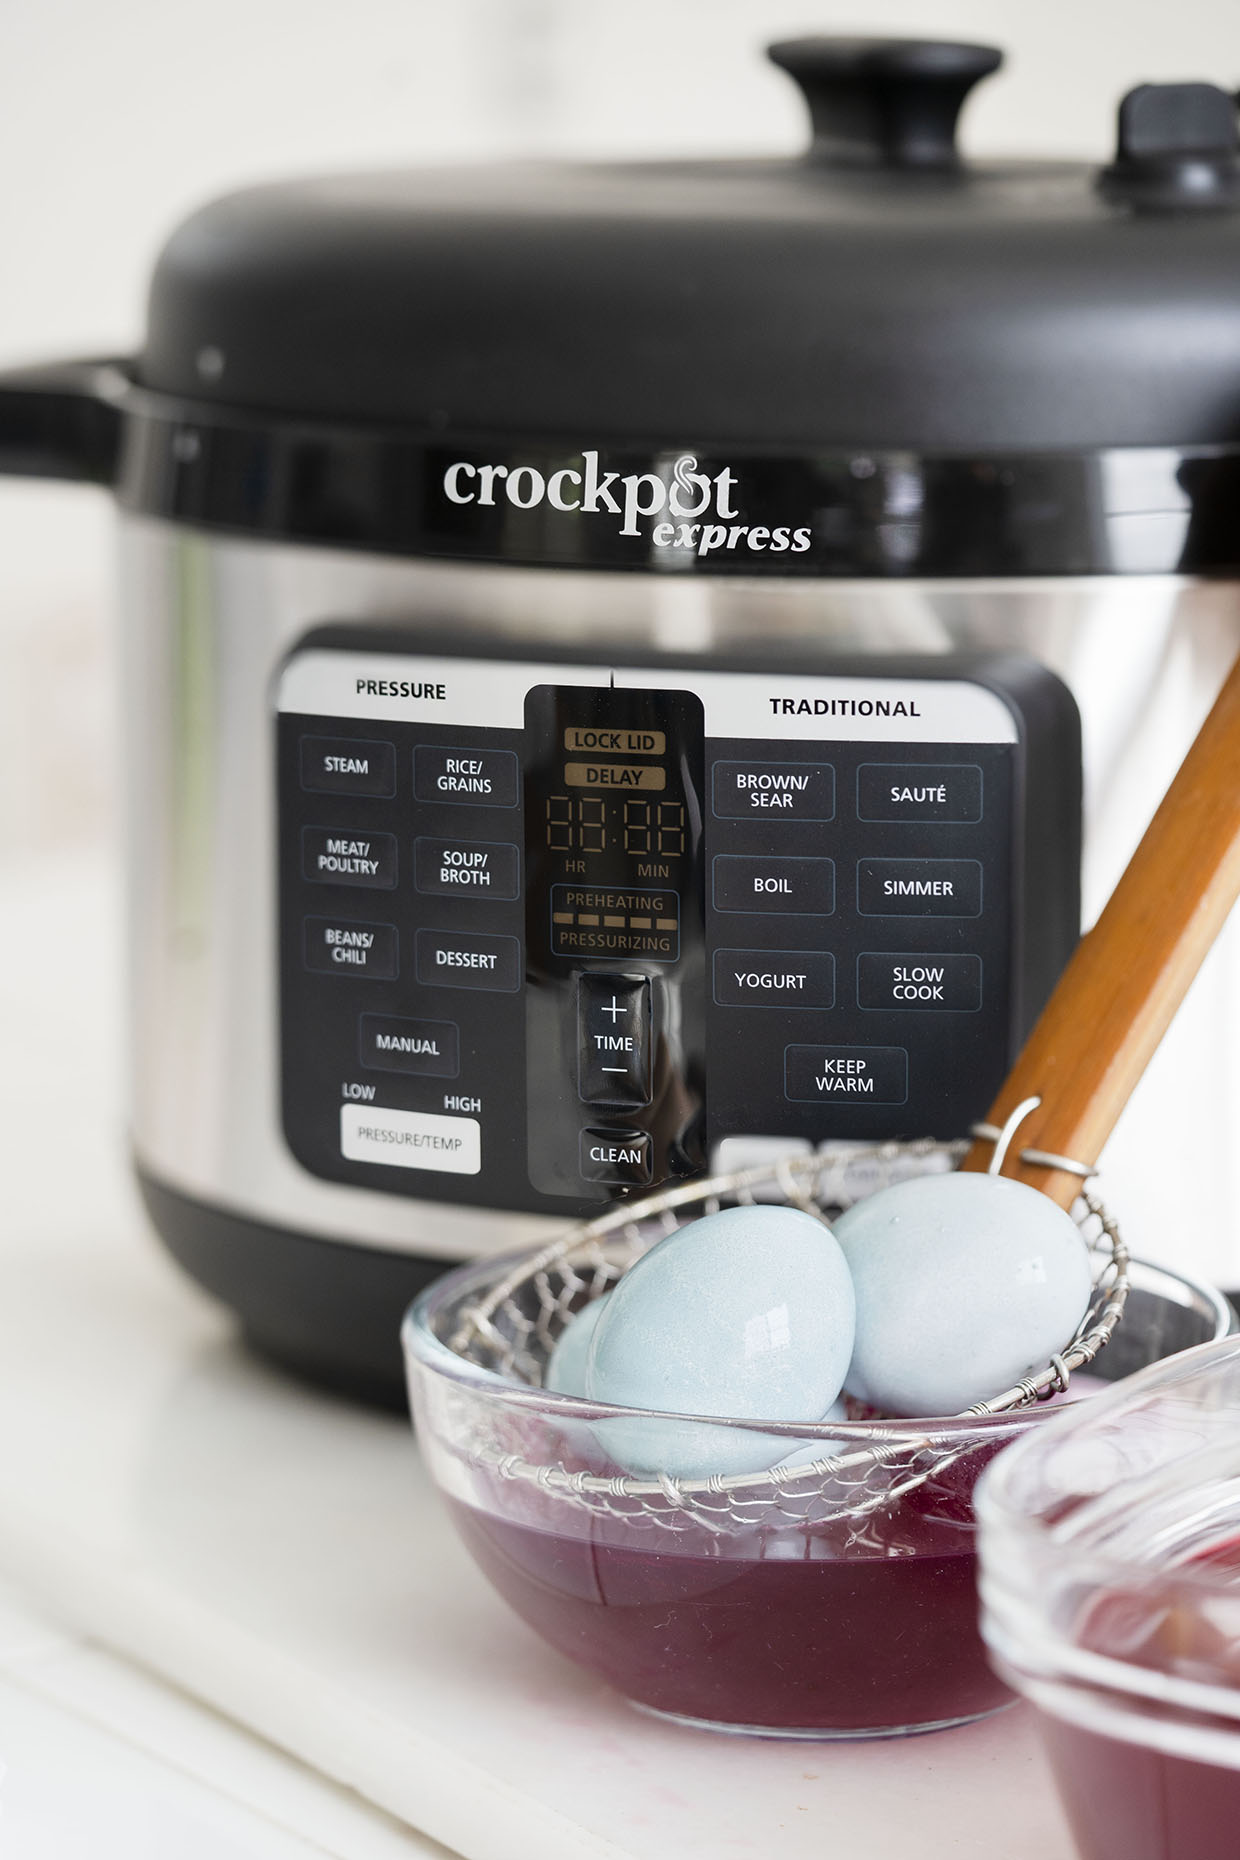
- For a deeper, darker color make sure the extracted color of the vegetable is a few shades darker than the color you intend. Also, soaking the eggs in the dye overnight in the refrigerator will deepen the color.
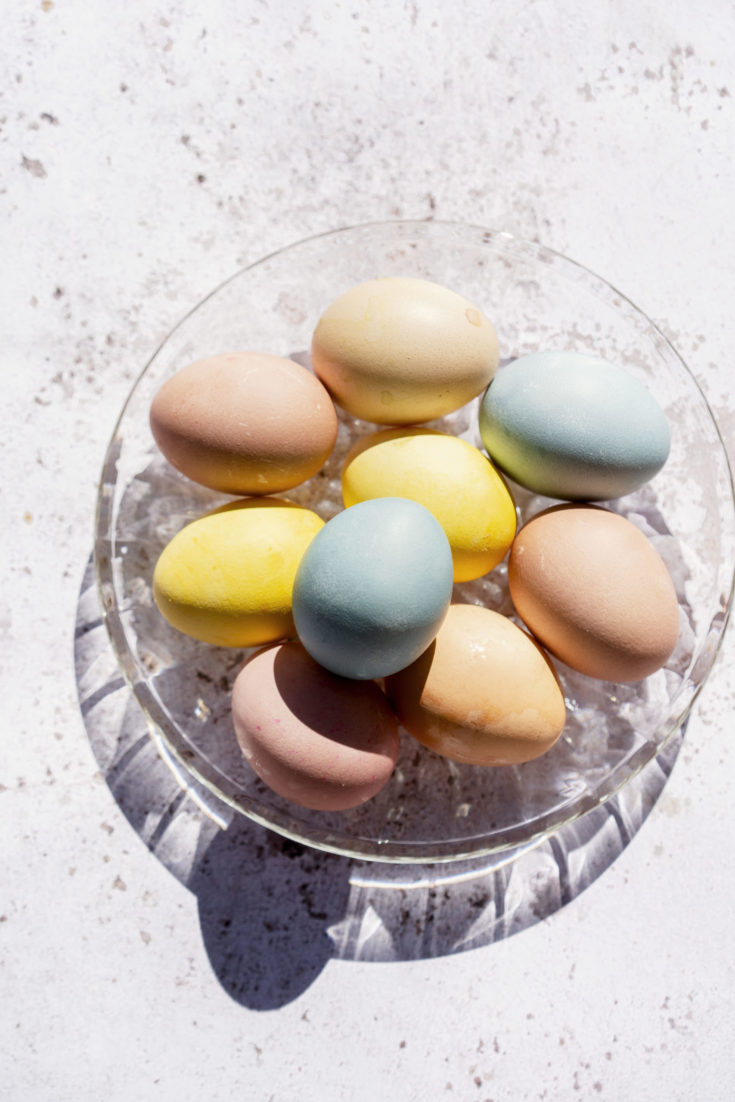
- The recipe below creates the following color: baby blue from the cabbage, pale yellow from the red onions, gold from the turmeric, light pink from the beets and khaki from red onion. But you can definitely get more creative by double-dipping between the colors.
- Pro-parent tip: Let your kids shop and pick the vegetables. From there you can cook each vegetable separately or let them combine a few to personalize their own color creation.
Happy dyeing, everyone! And as always, caring is sharing, so if you come up with a unique color or a cool trick, make sure to come back and let the rest of us know in the comment section.
Speaking of sharing, stay tune, because I’m officially a Crockpot Ambassador, which I’ll be sharing more time-saving recipes like this!
Bring two cups of water to a boil, stir in 1 tablespoons of white vinegar, add the red onion skin let simmer for 15-20 minutes or until desired color depth is achieved. Strain and pour dye mixture into a bowl and let cool completely. Repeat with the 2 cups of water to 1 tablespoon of vinegar ratio with each remaining vegetable. Once all the color dye mixtures have cooled, carefully add hard boiled eggs and let soak for 30 minutes, or longer, depending on desired color saturation. For the deepest color saturation, let the eggs soak overnight in the refrigerator. *To make the perfect hard boiled eggs with the new Crockpot ™ Express Oval Pressure Cooker : Fill pressure cooker vessel with 2 cups of water. Place rack on top and lay eggs down. Close the lid. Press the manual button and set too high. Key timer up to 8 minutes and press start. The machine will indicate heating. Once properly heated and pressurized, the 8-minute timer will tick down. Once the timer is up, turn the easy release button to vent the steam to depressurize the cooker. Once the cooker is fully depressurized, the lid will open with a simple turn. Lift the lid and remove the hard boiled eggs. Set aside to cool completely before dyeing. Natural Easter Egg Dye
Ingredients
Instructions
Leave a comment
Have a comment or question? Let me know, I'd love to hear from you.
0 comments to " How to Naturally Dye Easter Eggs "